
Many content creators hold back because professional video editing takes too much time or costs a lot of money. This practical workflow combines Claude Code and HyperFrames, so you can turn raw talking‑head footage into polished short‑form videos without mastering complex traditional editing software.
Important note: HyperFrames is still in beta. Some heavy‑duty rendering tasks demand decent local PC hardware. Not every effect will render perfectly on the first try; iteration is part of the process.
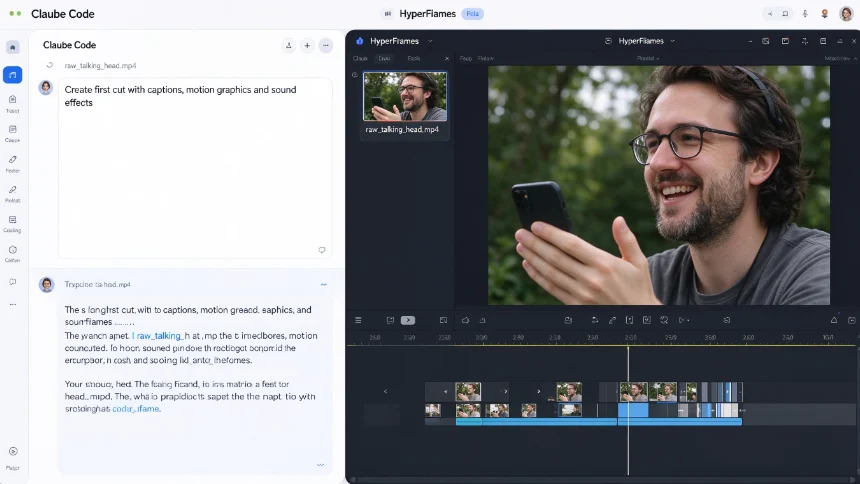
Your starting point is raw unedited footage. You can upload your original video file directly, or reference the local file path in your prompt. You do not need to hand‑cut every clip manually.
A basic first‑round prompt can ask for motion graphics, burned‑in captions, sound effects, and request the AI to review your raw clip and suggest improvement directions. After you receive the initial cut, keep refining output with follow‑up instructions: adjust tone, tighten length, tweak graphic overlay positions. You iterate rather than restarting from scratch every time.
Add B‑roll and royalty‑free background music
Once you get a solid base edit, you can bring in supplementary visuals.
You can ask the workflow to pull copyright‑safe B‑roll footage and royalty‑free background music from public free libraries. Keep in mind: some external asset sources may require account login for downloading media resources.
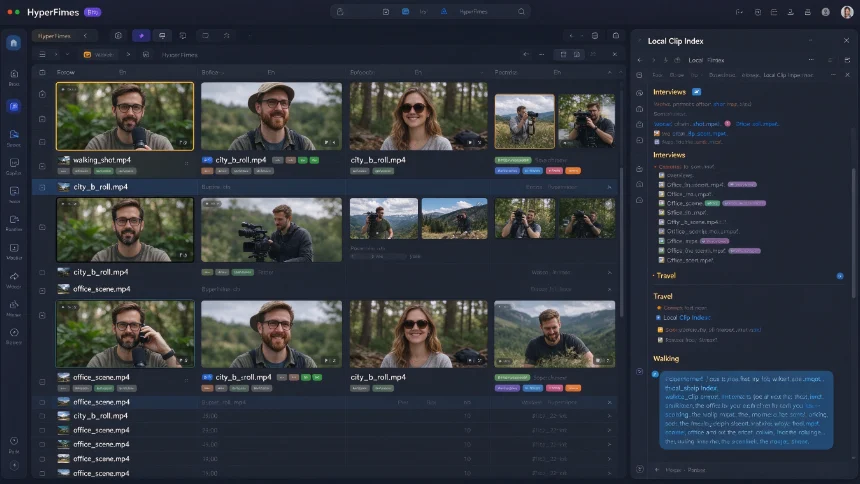
If you already own a folder full of your own recorded B‑roll clips, you can have Claude sort and tag your local footage library. It will classify clips by subject: walking shots, travel clips, interview takes and so on, output a searchable clip index list. Afterwards you can reference this index list in prompts, telling the system to pick matching clips automatically for each segment of your video.
Copy editing style from reference videos
One very practical trick: feed a sample finished reference video to the system, ask it to break down the editing style. It will analyse pacing, motion graphics, caption styling, transitions and sound design from the reference work.
Then apply that exact analysed editing language onto your own raw footage. Keep your original content and script unchanged; only reuse the editing rhythm, visual treatment and audio style from the reference example.
Sample prompt template: Analyse this reference video, break down its editing style including pacing, motion graphics, captions, transitions and sound effects. Apply this same engaging editing style to my raw footage, preserve my original content completely.
You can reuse this pattern for different reference creators, for interview‑style clips, puzzle‑question short videos and more.
Build reusable channel intro sequences
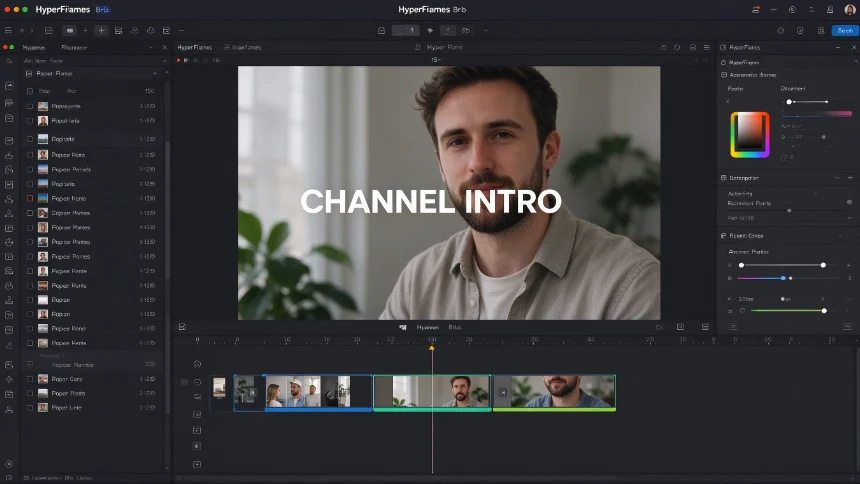
Instead of paying external editors for custom channel intros, you can build reusable opening sequences inside this workflow.
Upload one high‑quality reference intro video. Let Claude + HyperFrames decompose its timing, typography, animation rhythm and colour scheme. Then generate your own branded 15‑second intro, keep consistent brand colours, typography and visual language for your channel. Save the composition file, you can reuse this intro for all future videos.
Working with 3D animation inside this pipeline
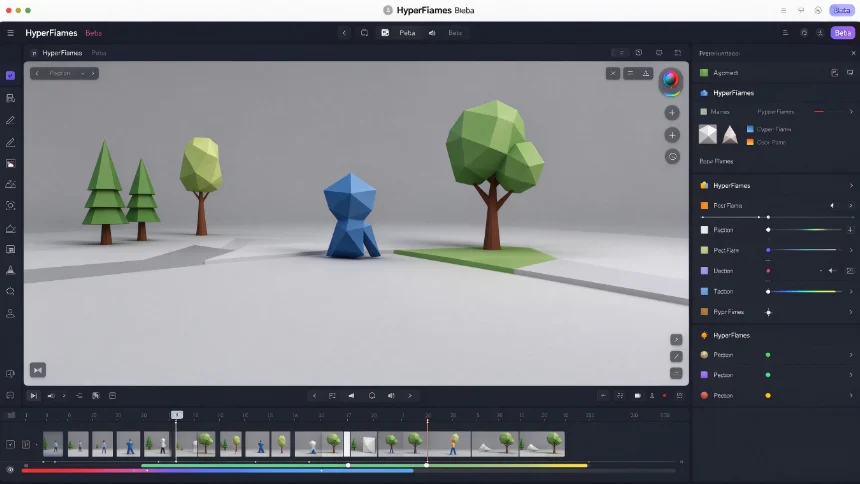
You can also add 3D animation segments into your video project. There is one key real‑world limitation: local 3D rendering puts heavy pressure on your computer. It requires strong GPU and sufficient RAM. Low‑end laptops will struggle with long render times or may fail to finish rendering jobs.
The workflow will call tools such as Blender under the hood for rendering. You still need multiple prompt iterations to get satisfying 3D results. Do not expect one‑click perfect output.
Practical real‑world tips
- Do not expect perfect results from your very first render. Most finished videos go through multiple rounds of prompt adjustment.
- For local‑file workflows, clearly provide correct file folder paths for your footage and assets.
- When adding captions, add explicit constraints: make sure captions never cover your main subject’s face or key visual content.
- Heavier tasks such as 3D animations require capable PC hardware; check hardware requirements in advance.
- Always double‑check copyright status for any B‑roll and background music assets you import for publishing online.
Closing thoughts
This workflow will not fully replace professional human video editors. But it drastically lowers the entry barrier for individual creators. You can turn raw camera footage into publish‑ready short videos without spending months learning complex editing software. Start small: test with one short raw clip, try adding captions and simple motion graphics first, then gradually experiment with B‑roll and advanced animations.